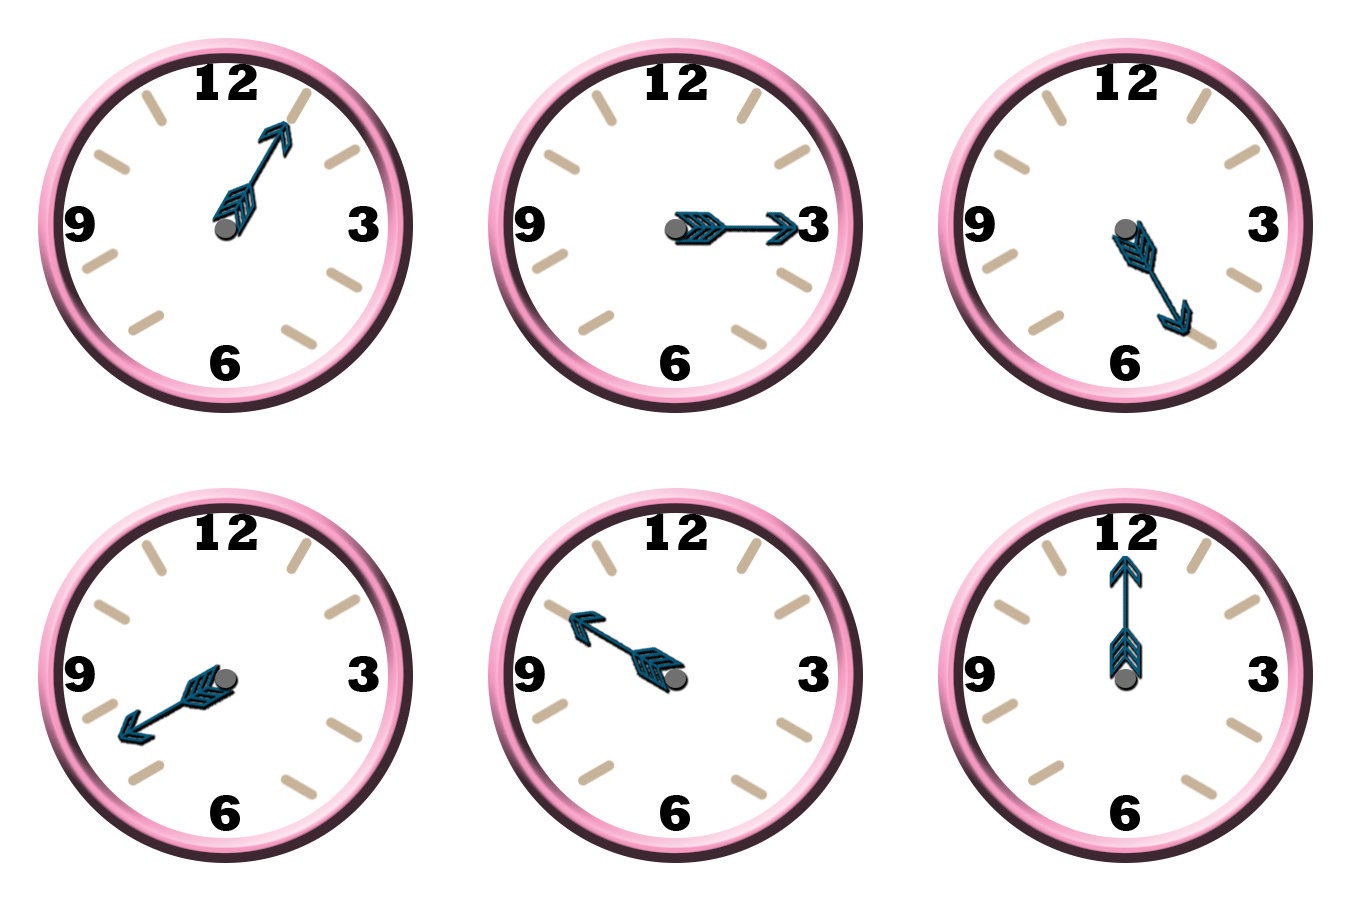
This is my clock animation. i first made sure all of my tools were reset just in case so i wouldn’t mess anything up. Then i used the ellipse tool ,which was underneath the rectangle tool, to fill my clock. make sure you use something light so the other parts of your clock will show. change the position of your circle to make it perfect centered in the screen. create horizontal and vertical lines to make sure everything lines up equally. create the outer edge of your clock by duplicating the layer and and making it a little bit bigger than the other circle. use thew type tool to add the numbers to my clock. first, start off my numbering 12, 3,6,and 9. use the rounded rectangle tool to create the tick marks on your clock. press alt control t and drag your tick 30 degrees to set the pattern. press t and continue to do that pattern for every tick mark. merge the numbers after naming them so you wont have a lot of random numbers everywhere. erase the lines at 12,3,6, and 9. make a new group and name it hands. using the custom shape tool, find the arrows and chose the arrows you want to use for the hands on your clock. repeat the same steps you did for the tick marks to duplicate the hands. use the ellipse tool again ans hold shift to create the perfect circle. turn off the hand layers and put the new circle directly in the middle of the clock. go to the timeline and create a frame with only the 1st hand. after that is created, do the same thing for the other hands. make sure you turn off all of the other hands except for the one you’re making a frame of. you should have 12 frames in total. save and create it as a fig. (remember that you should be choosing colors as you go through each step to decorate your clock) and you’re finished.
